Detailed Surface Scanner
Optional internal. Maps a ringed body to reveal hotspots — the patches of ring where one mineral is concentrated. Without it you are mining blind, so this goes on before anything else.
 Initializing NVIR systems
Guides // Activities
Laser, core, and subsurface mining in pristine rings — the steady credit printer.
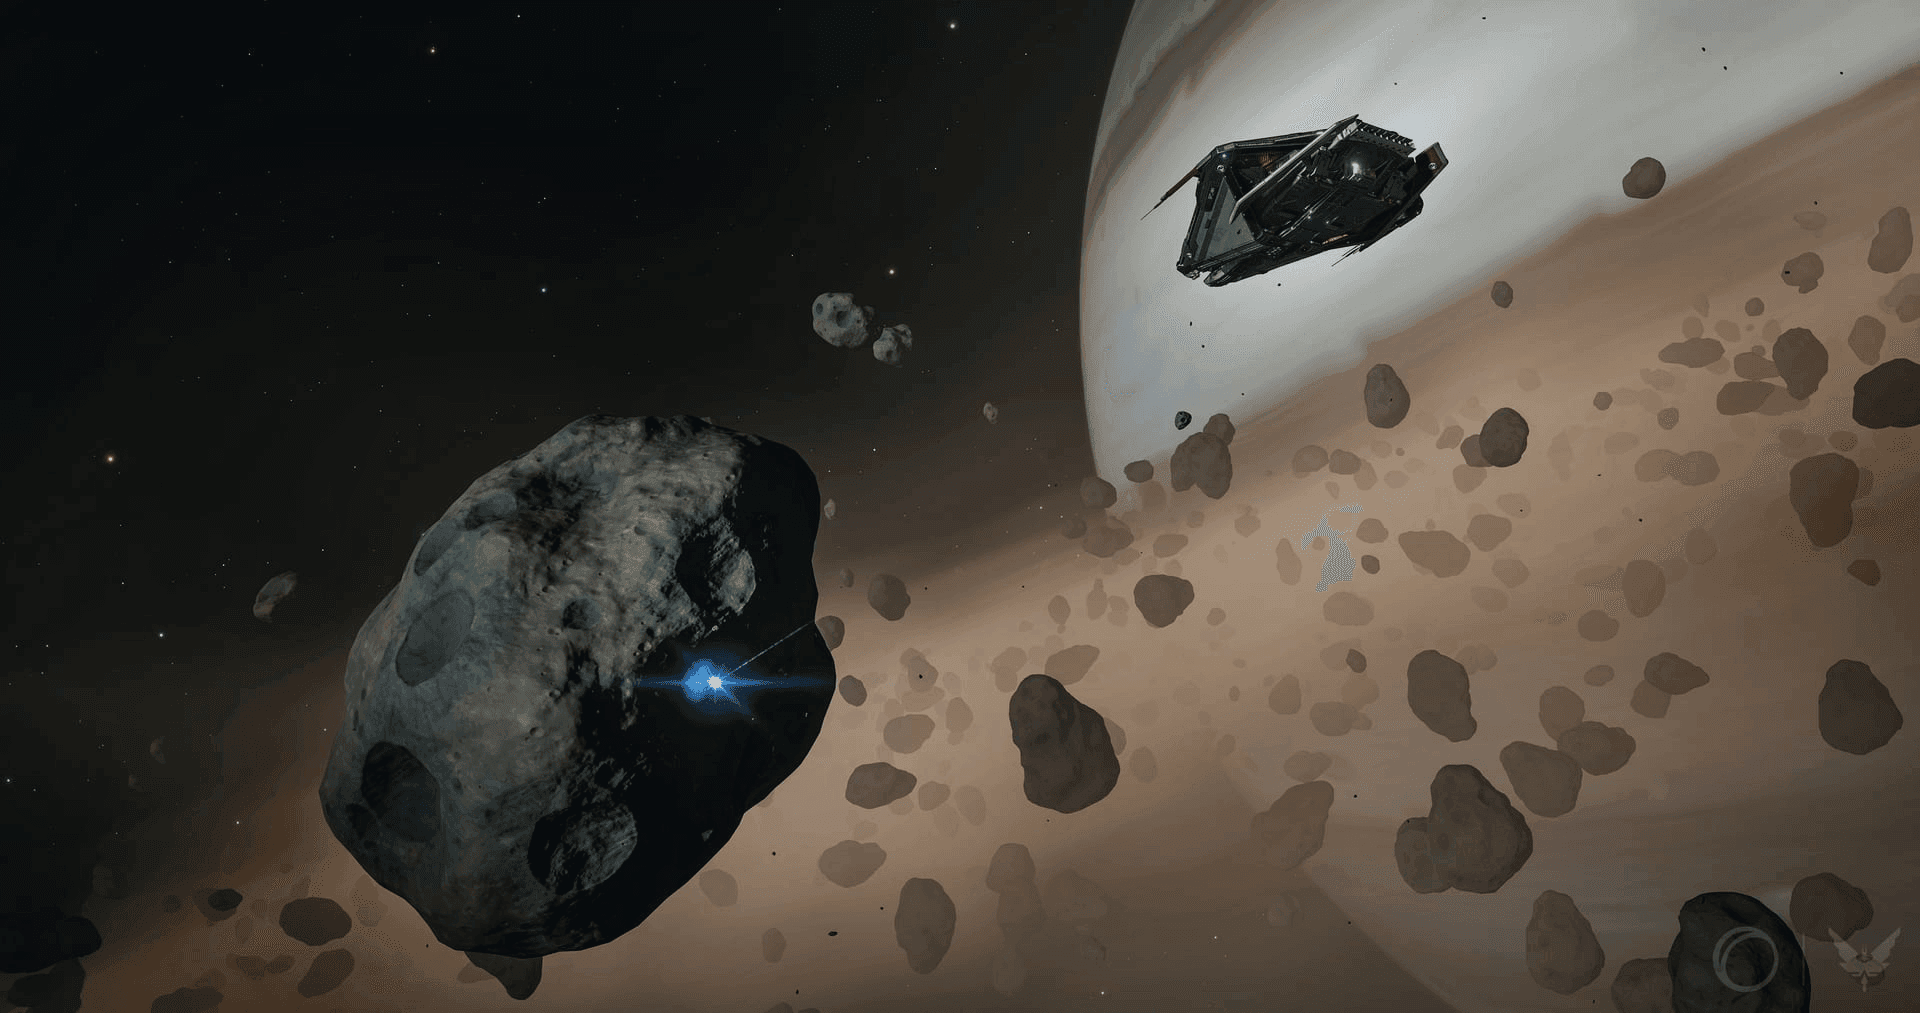
Mining is the most equipment-dependent career there is. It is slow to kit out and genuinely relaxing once the limpets (A single-use drone that collects, prospects, repairs, or researches. Weighs a tonne and rides in the hold.) are flying — no one shoots at you in a ring unless you let them, and a full hold of the right rock is worth more than most missions.
Fit for one method at a time. A ship carrying every mining tool at once carries very little cargo, and cargo is the payday.
Optional internal. Maps a ringed body to reveal hotspots — the patches of ring where one mineral is concentrated. Without it you are mining blind, so this goes on before anything else.
Utility mount. Pings the ring and lights up asteroids carrying deposits. Dull, translucent colour means surface deposits only; bright, opaque colour means a core. The red, orange and yellow patches mark where on the rock the deposits sit, not how rich they are. It tells you nothing about what a laser will get out of the body.
Fire one at an asteroid, then target the limpet to read what is inside. It also multiplies the fragments the rock gives up, from 1.5x at E rating to 3.5x at A. Only the rating letter counts — the class does nothing for yield — so a 1A is lighter, cheaper and just as good as a 7A.
Automatically scoops fragments so you can keep mining. D-rated controllers give the longest limpet lifetime, and a second controller keeps the hold filling while the first batch expires.
Turns collected fragments into saleable tonnes. More bins means you can process more mineral types at once without wasting partial loads.
The actual product. Everything else exists to fill these.
Hulls that carry the tools and the cargo without collapsing your jump range.
| Ship | Class | Price | Description | Build |
|---|---|---|---|---|
| Type-11 Prospector | Medium | 66.3M CR | A mining-purposed ship with a custom mining module. Currently it is the fastest mining ship, but cargo space is limited. | EDSY |
| Anaconda | Large | 142.5M CR | A highly versatile mining platform with excellent jump range and enough internals for a flexible build. A good choice when mining is only one of several roles. | — |
| Imperial Cutter | Large | 200.5M CR | A premium large-pad multirole ship combining enormous cargo capacity, speed, and powerful shields. Requires Duke rank with the Empire. | — |
Five methods, five separate tools. The first four all happen inside a ring and are not alternatives to one another — a single good asteroid can want three of them, and a motherlode can want all four. The fifth happens on the ground and is its own trip.
| Method | Tool | What it gets you |
|---|---|---|
| Laser mining | Mining Laser | The body of the asteroid itself, ground down into fragments. |
| Surface deposits | Abrasion Blaster | Lumps sitting on the outside of the rock. One shot each. |
| Subsurface deposits | Sub-surface Displacement Missile | Deposits buried under the crust, drilled out on a depth-timing shot. |
| Core mining | Seismic Charge Launcher | The core of a motherlode asteroid, cracked open with explosives. |
| Planetary surface mining | SRV turret, and the Rhino from 2 September | Deposits in the ground on a landable body — raw engineering materials rather than tonnes to sell. |
In a ring, the prospector limpet tells you which of the four a rock is worth. It reports the mineral spread through the body, and it marks any surface and subsurface deposits so you know what is there before you commit a single charge.
Sections 04 to 08 take each one in turn.
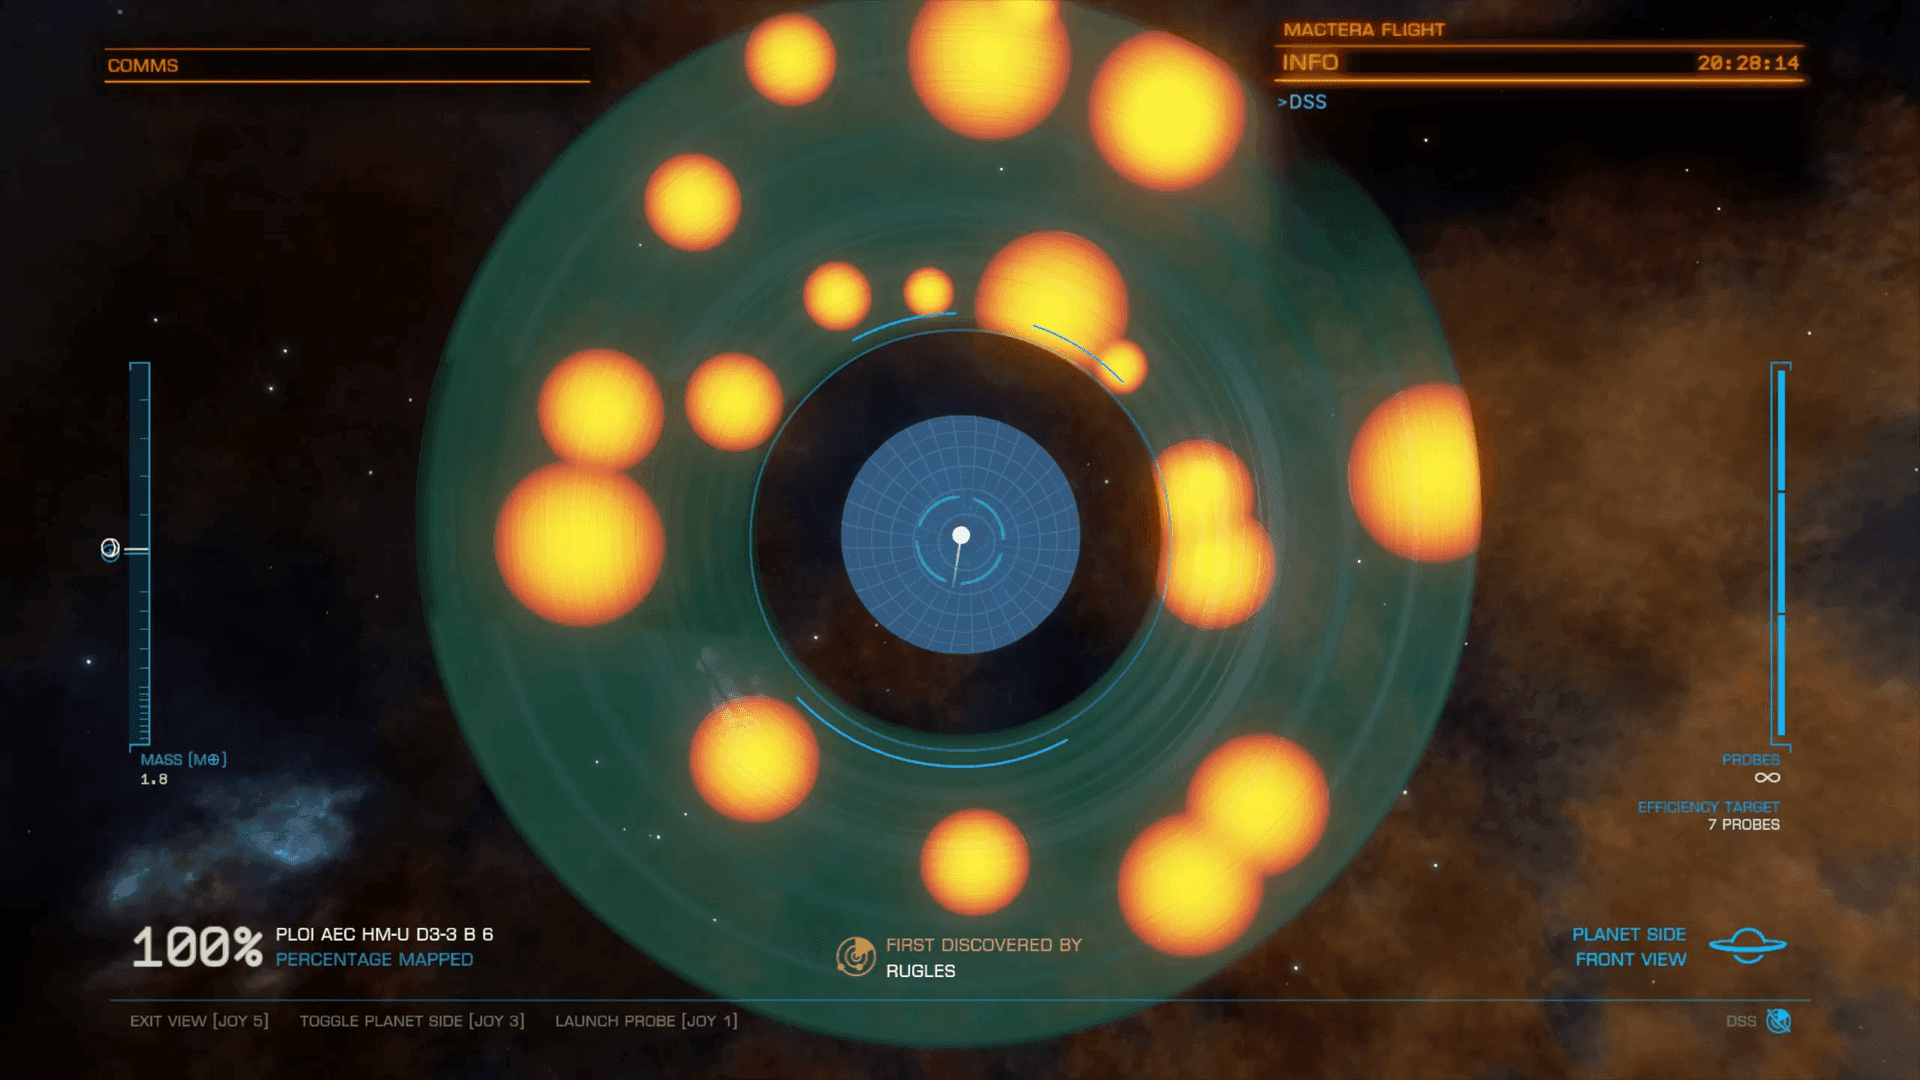
What you can mine is decided entirely by where you mine. Ring composition sets the mineral list; reserve level sets how much of it there is.
| Ring type | What it holds |
|---|---|
| Icy | The high-value cores — Low Temperature Diamonds, Void Opals, Alexandrite. Also Tritium for Fleet Carrier fuel. |
| Metallic | Painite, Platinum, Gold and Silver to a laser. It carries cores too — Painite, Platinum, Monazite, Rhodplumsite and Serendibite. |
| Metal Rich | Similar metals in smaller quantities. The same core list as metallic, plus Alexandrite. |
| Rocky | Cores of Alexandrite, Benitoite, Musgravite, Monazite, Rhodplumsite and Serendibite. Lower laser yields. |
Reserve level is listed next to the ring in the System Map and multiplies everything: Pristine is the best, then Major, Common, Low, and Depleted. Always mine Pristine when you have the choice — a Pristine icy ring and a Depleted one look identical from the cockpit and pay completely differently.
Look for the composition and reserve level you want. Pristine rings are almost always outside populated space, because populated systems have been worked for decades.
Drop into supercruise near the ringed body and fire surface probes at the ring. This reveals hotspots — dense concentrations of one specific mineral. A hotspot works on the whole asteroid, not just its body: most of the surface and subsurface deposits inside one turn to that mineral as well, which is what makes the blaster and the missile worth carrying.
Hotspots can overlap. A point where two or three hotspots for the same mineral intersect has dramatically better odds per asteroid than a single one. This is the difference between a good session and a great one.
Enter the ring and throttle down. Sweep with the PWA (Pulse Wave Analyser: A utility mount that pings a ring and lights up asteroids holding something worth mining.) when you are hunting deposits or cores — a bright, opaque return is a motherlode. For laser work the sweep tells you nothing; prospect rocks directly instead.
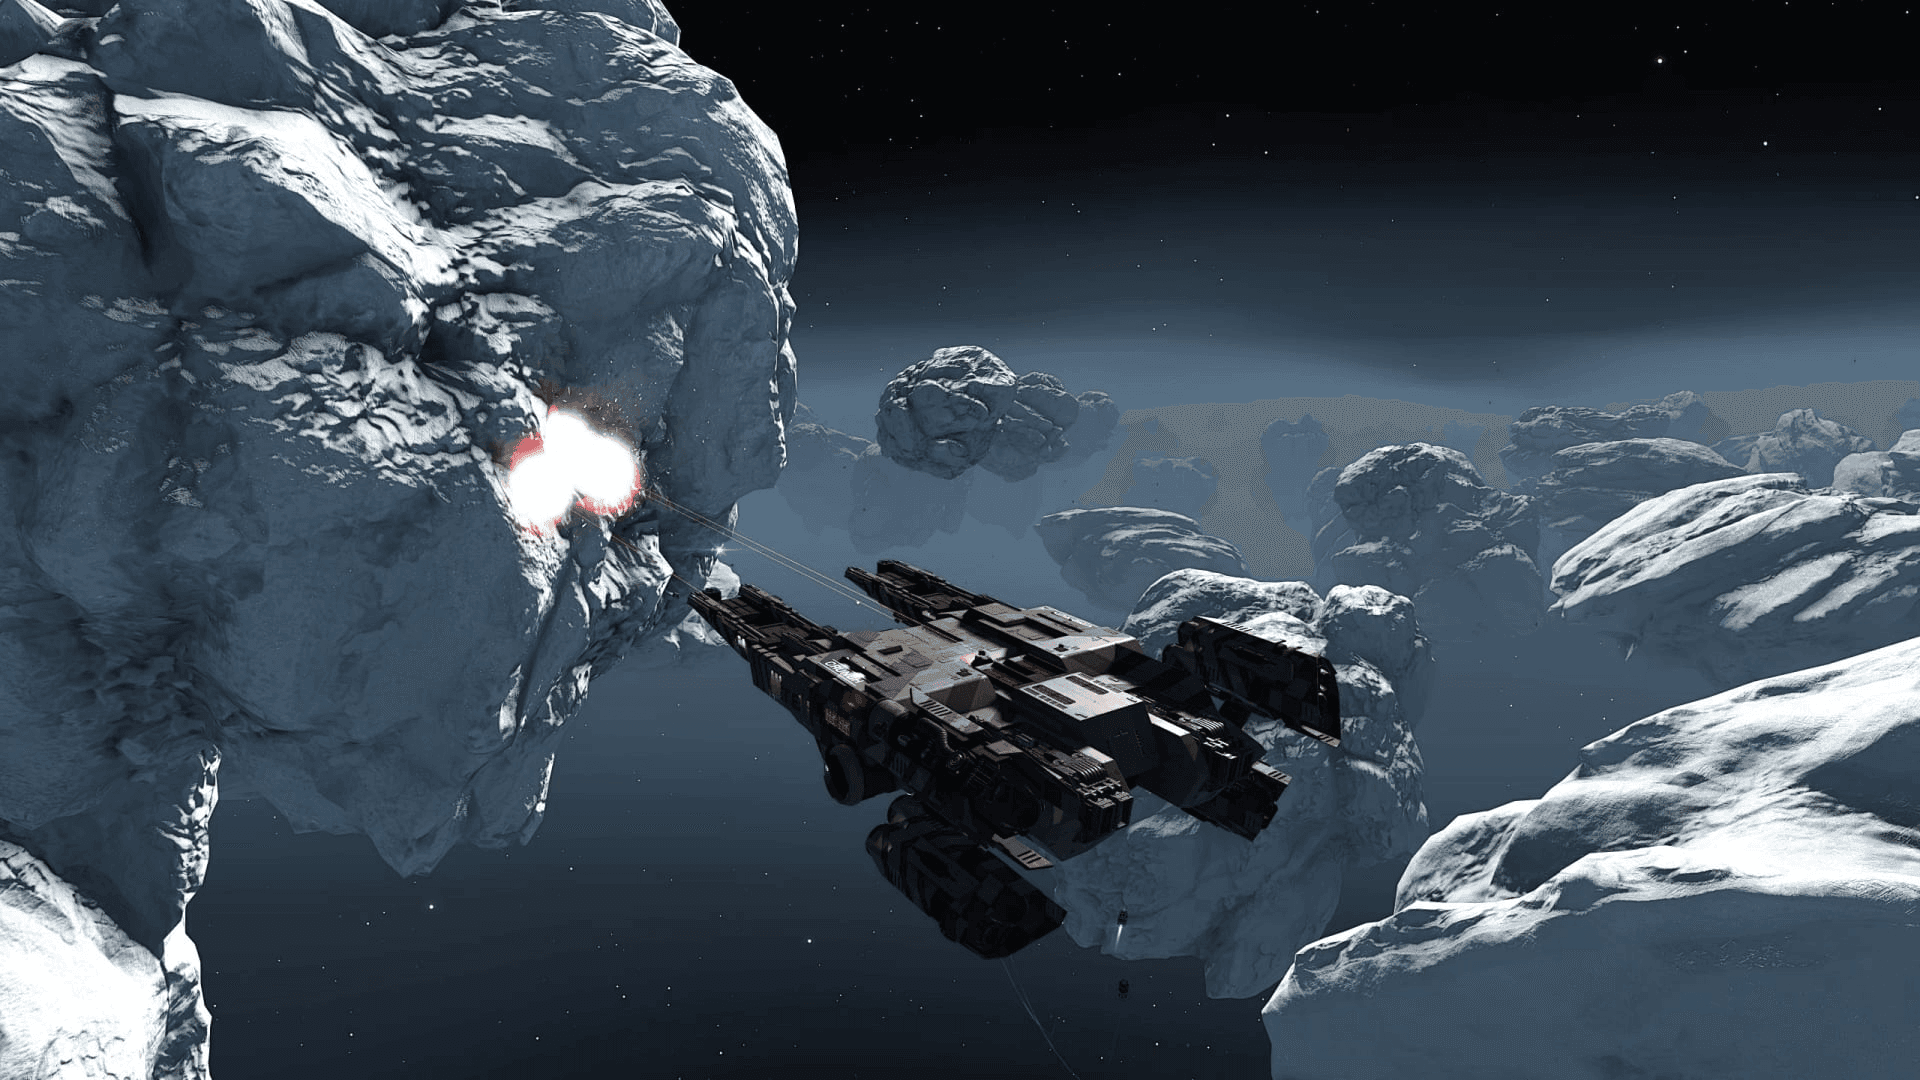
The simple one, and the one that fills a large hold fastest. Fit Mining Lasers, hold the trigger on a prospected asteroid, and fragments break off the surface for your collector limpets (A single-use drone that collects, prospects, repairs, or researches. Weighs a tonne and rides in the hold.) to scoop. Painite and Platinum in metallic rings are the classic targets; Low Temperature Diamonds and Tritium are the icy-ring equivalents.
What you get is the percentage the prospector reported, spread through the whole body of the rock. Lasers stack — more of them cut through an asteroid faster — but each one draws from your weapons capacitor, so a ship that runs dry mid-asteroid is carrying one laser too many for its distributor.
Point the ship at an asteroid and launch a prospector. There is a delay before it leaves the rack and it flies dead straight, so hold your nose on the rock or it sails past. Then target the limpet itself — that is the only way to read the composition of the asteroid.
An asteroid holds two or three resources, and the readout shows how much of each is left. Set yourself a percentage you will accept and move on from anything under it. The bonus is not retroactive either: fragments you cut before the limpet lands come out at the plain rate.
Launch a collector limpet with nothing targeted and it works the whole area on its own. Launch one with a fragment targeted and you get a single-collection limpet instead, which wastes it.
Refinery is the module that turns fragments into materials. It starts working automatically when you have a fragment in the hold.
When there is no fragment left in the asteroid, collect the remaining fragments and head towards the next asteroid.
Some asteroids carry visible lumps on the outside, and the prospector marks every one of them. An Abrasion Blaster knocks each loose in a single shot — no charging, no timing, no minigame.
This is the cheapest value in the ring. Clearing the outside of a rock costs seconds, works on ordinary asteroids and motherlodes alike, and the deposits are often a better mineral than the body of the rock. Always do it before anything else.
Deposits buried just under the crust rather than sitting on it. The prospector reveals them, and only a Sub-surface Displacement Missile can reach them — part rocket, part drill, part charge.
The missile flies straight until it hits the asteroid, then drills down from the point of impact. A depth indicator appears in the lower left of the HUD. Hold the trigger to keep drilling and release it to detonate the shaped charge at the deposit, which knocks material loose into space for your collectors.
Two readouts decide how much you get. The bars on the deposit are its size, and smaller is better: one and two-bar deposits release the most ore, three slightly less, and four or more drop off sharply. The integrity figure under the target is how many attempts the deposit has left — between two and nine — and a miss spends one just as a hit does. Every shot damages the deposit, so it is worth less each time.
A normal deposit gives up roughly two to six tonnes. Low Temperature Diamond deposits are the exception at eight to fifteen, and they are rare enough that finding one is its own reward.
It is the least popular of the ring methods and the most fiddly to learn. It is also free tonnage on a rock you are already parked next to, and the timing stops feeling awkward after a dozen shots.
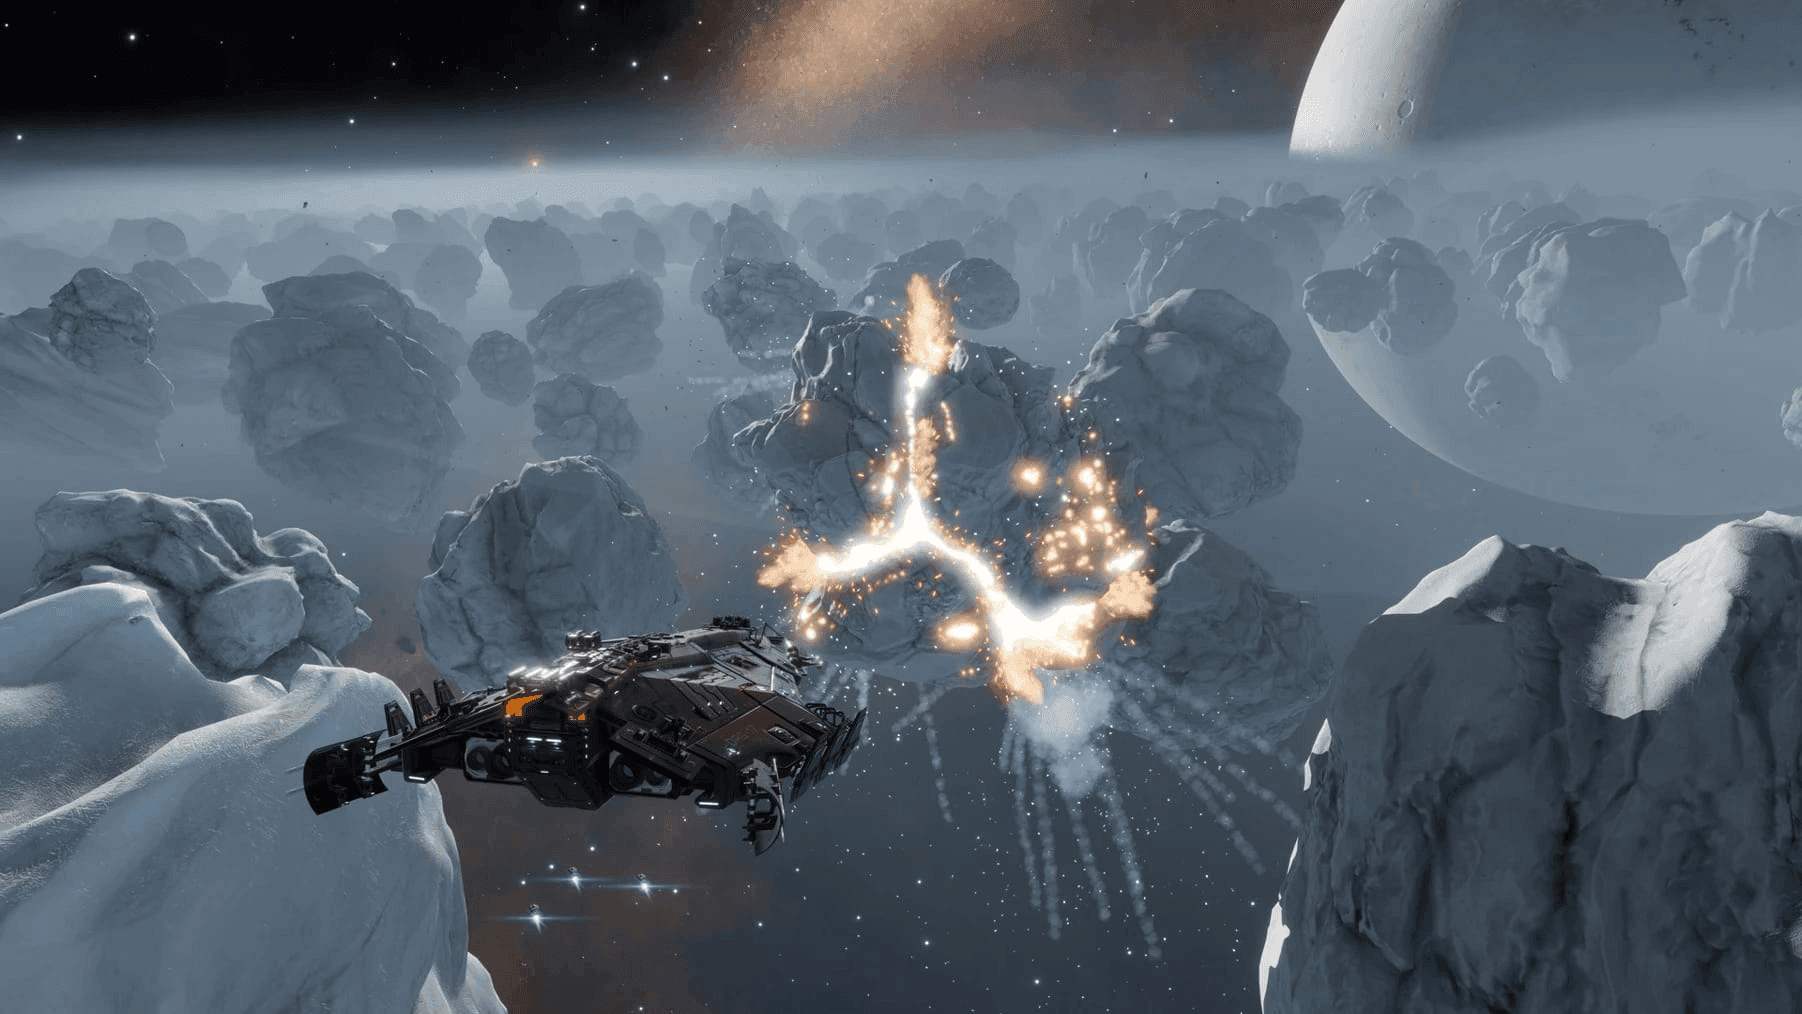
The lucrative one. Core asteroids — motherlodes — hold the highest-value minerals anywhere: Void Opals, Alexandrite, Monazite, Serendibite. The PWA (Pulse Wave Analyser: A utility mount that pings a ring and lights up asteroids holding something worth mining.) reacts loudly to them, and up close they look lumpy and irregular with bright reflective patches and visible fissures running across the surface.
Which cores exist at all is set by the ring. Rocky and metal-rich carry Alexandrite, Monazite, Rhodplumsite and Serendibite, and rocky adds Benitoite and Musgravite. Metallic carries Painite and Platinum cores alongside its laser metals. Icy holds Void Opals, Alexandrite and Low Temperature Diamonds.
Not optional: the launcher does not function without a prospector limpet, and the fissures cannot be targeted until the rock has been prospected. It also tells you what is inside, so you can leave the rock alone when the contents are not worth the charges. Most are not.
Blast the surface deposits and drill any subsurface deposits now. Detonating the core destroys them, so anything you skip is lost.
Hold the Seismic Charge Launcher trigger to build strength — the bars to the left of your reticle show the level — and release to fire. Each fissure wants a different strength, and mismatched charges waste the rock. A warhead that misses its fissure bounces off and detonates harmlessly without setting off the others.
A meter tracks the combined blast rating. Keep it inside the blue band: too few warheads and the asteroid refuses to break, too many and the blast destroys some of the deposits you came for.
The first warhead starts a 120-second countdown and every later charge syncs to it, so they all detonate together. Armed warheads can be disarmed or set off early from the Contacts panel. Pull away to a safe distance before it goes — the blast will damage your ship.
The asteroid splits open and scatters chunks. Send in the collector limpets (A single-use drone that collects, prospects, repairs, or researches. Weighs a tonne and rides in the hold.) and clean it out.
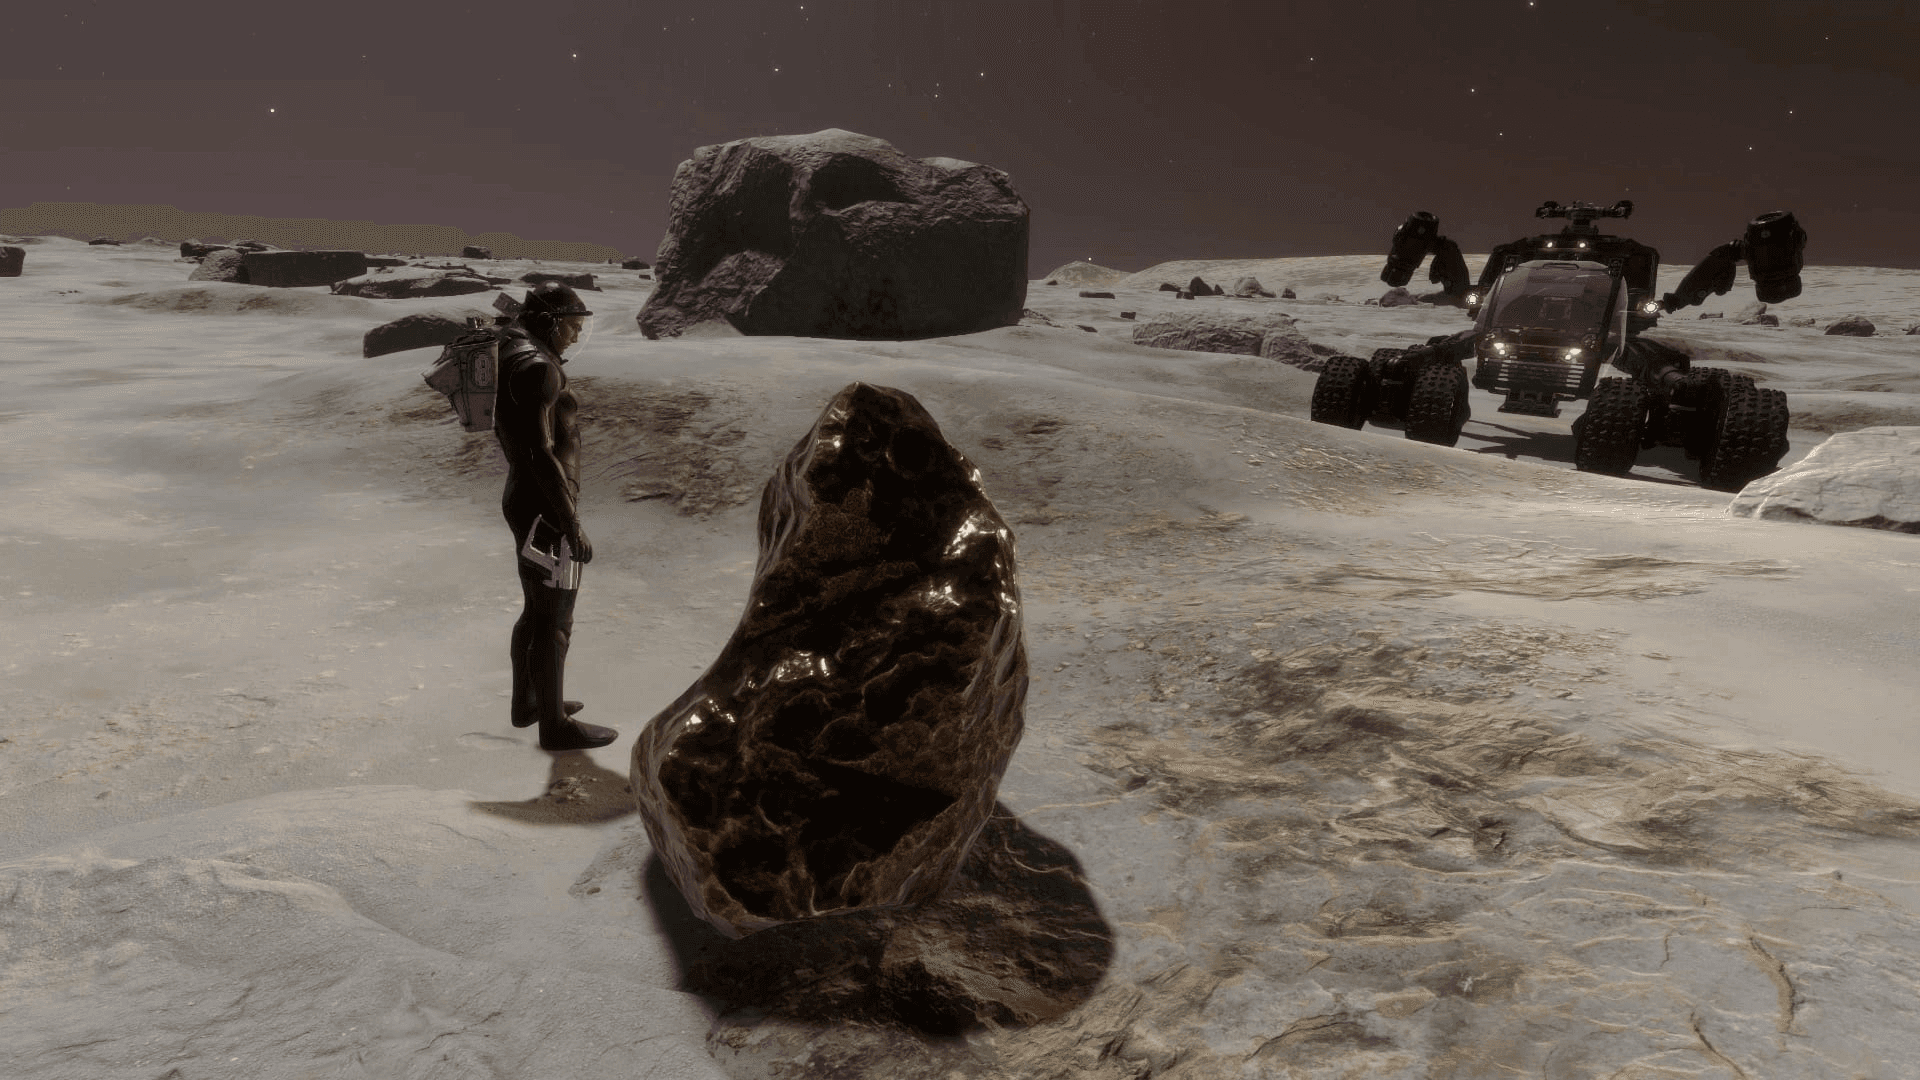
Everything above happens in a ring. Mining on a planet is a different loop: land on a body, drop an SRV (Surface Recon Vehicle: The wheeled buggy you drive on planet surfaces. Needs a Planetary Vehicle Hangar.), and work the ground instead of an asteroid.
The long-standing version is simple. Drive with the Wave Scanner running, let it pick out mineral outcrops, metallic meteorites and geological sites, blow them apart with the SRV turret, and drive over the chunks to scoop them. Volcanic ground is the reliable ground — gas vents and fumaroles almost always have something worth shooting off.
What it pays is different too. A surface site gives you raw engineering materials, not tonnes to sell at a market, so this is a trip you make to unlock a blueprint rather than to fill a hold.
The Rhino is too large for the standard cargo hatch and needs the new Mk II Large Planetary Vehicle Hangar, which fits the big hulls — Anaconda, Imperial Cutter, Federal Corvette, Type-9, Panther Clipper Mk II, Krait Mk II and the Type-11 Prospector among them.
Do not sell at the nearest station. Mineral prices swing hard between markets, and the difference between a lazy sale and a checked one is routinely millions of credits on a full hold.
Look your mineral up on Inara, sort by price and demand, and confirm the station can take your pad size. If your ship needs a large pad, an outpost is not a destination — check before you plot.
A station paying a spectacular price for eight tonnes is useless with two hundred in the hold. Price and demand matter equally.
Large sales can push the price down at a single station. Splitting a very large haul across two markets sometimes beats dumping it all in one place.
Carriers often buy minerals at strong prices, and carrier owners buy Tritium constantly as fuel. Inara lists carrier markets alongside stations.
Tritium is the odd one out. You almost never mine it to sell — you mine it to move a Fleet Carrier. Carriers burn tritium every jump, and out in deep space there is nobody selling it at any price, so an owner heading for the black (Deep space beyond inhabited systems. No stations, no repairs, no market.) either brings enough or learns to dig it up.
A carrier's Tritium Depot is its fuel tank, and it holds 1,000 tonnes. Consumption scales with jump distance and with how heavy the carrier is — every service you install and every tonne in its holds costs you fuel.
| Carrier load | Tritium per 500 ly jump | Jumps on a full depot |
|---|---|---|
| Empty, no services | ~68 t | ~14 |
| Typical, some services | ~100 t | ~10 |
| Heavily loaded (25,000 t) | ~132 t | ~7 |
Tritium is an icy ring mineral, and only an icy ring mineral. No metallic or rocky ring will ever give you a tonne of it. The good news is that every icy ring holds some — a hotspot concentrates it rather than being the only place it exists, so you are never truly stranded as long as you can find ice.
It is the body that decides this, not the star. Ignore star class and look at what is orbiting it.
The most reliable source of large icy rings, and the ones most likely to carry hotspots. A ringed gas giant well out from its star is the first thing to check in any system.
Smaller rings, but common, and they turn up in systems that have nothing else worth stopping for.
Ice survives where it is cold. Rings close in tend to be metallic or rocky; the further out the body orbits, the more likely its ring is icy. A ring sitting thousands of light-seconds from the star is a good sign.
Reserve level does not change how many cores a ring has, but it does affect laser yields — and the body of the rock is one of your three tritium sources. Pristine rings are almost always outside populated space, which is convenient, because that is exactly where you need the fuel.
Bring all three ring tools and work every rock with the lot of them. A tritium hotspot does more than concentrate the mineral in the body of an asteroid: most of the surface and subsurface deposits inside it become tritium too. Laser the body, blast the surface deposits, drill the subsurface ones, then prospect the next rock.
That is what makes a fuel run bearable. Deposits are the fastest tonnes on the asteroid, the displacement missile pays better inside a hotspot whatever mineral the hotspot is for, and a laser alone leaves most of the rock behind.
You will not need seismic charges. Tritium is not a core mineral, so a motherlode holds nothing you came for.
Mined tritium lands in your ship's cargo hold, and the depot will not pull it from there on its own. This sequence catches out nearly every new carrier owner:
You have to be physically docked on it, in a ship with cargo racks.
If you already moved it into the carrier's cargo hold, move it back into the ship from the inventory panel. The depot draws from your ship, which is the step everyone misses.
From Carrier Management, open the Tritium Depot and donate the cargo. It transfers into the fuel tank, up to the 1,000 t cap.